Today's shop has been sponsored by Collective Bias, Inc. and its advertiser. As always, all opinions are my own. Thank you for supporting the brands that make this blog possible!
#RethinkYourColour #CollectiveBias
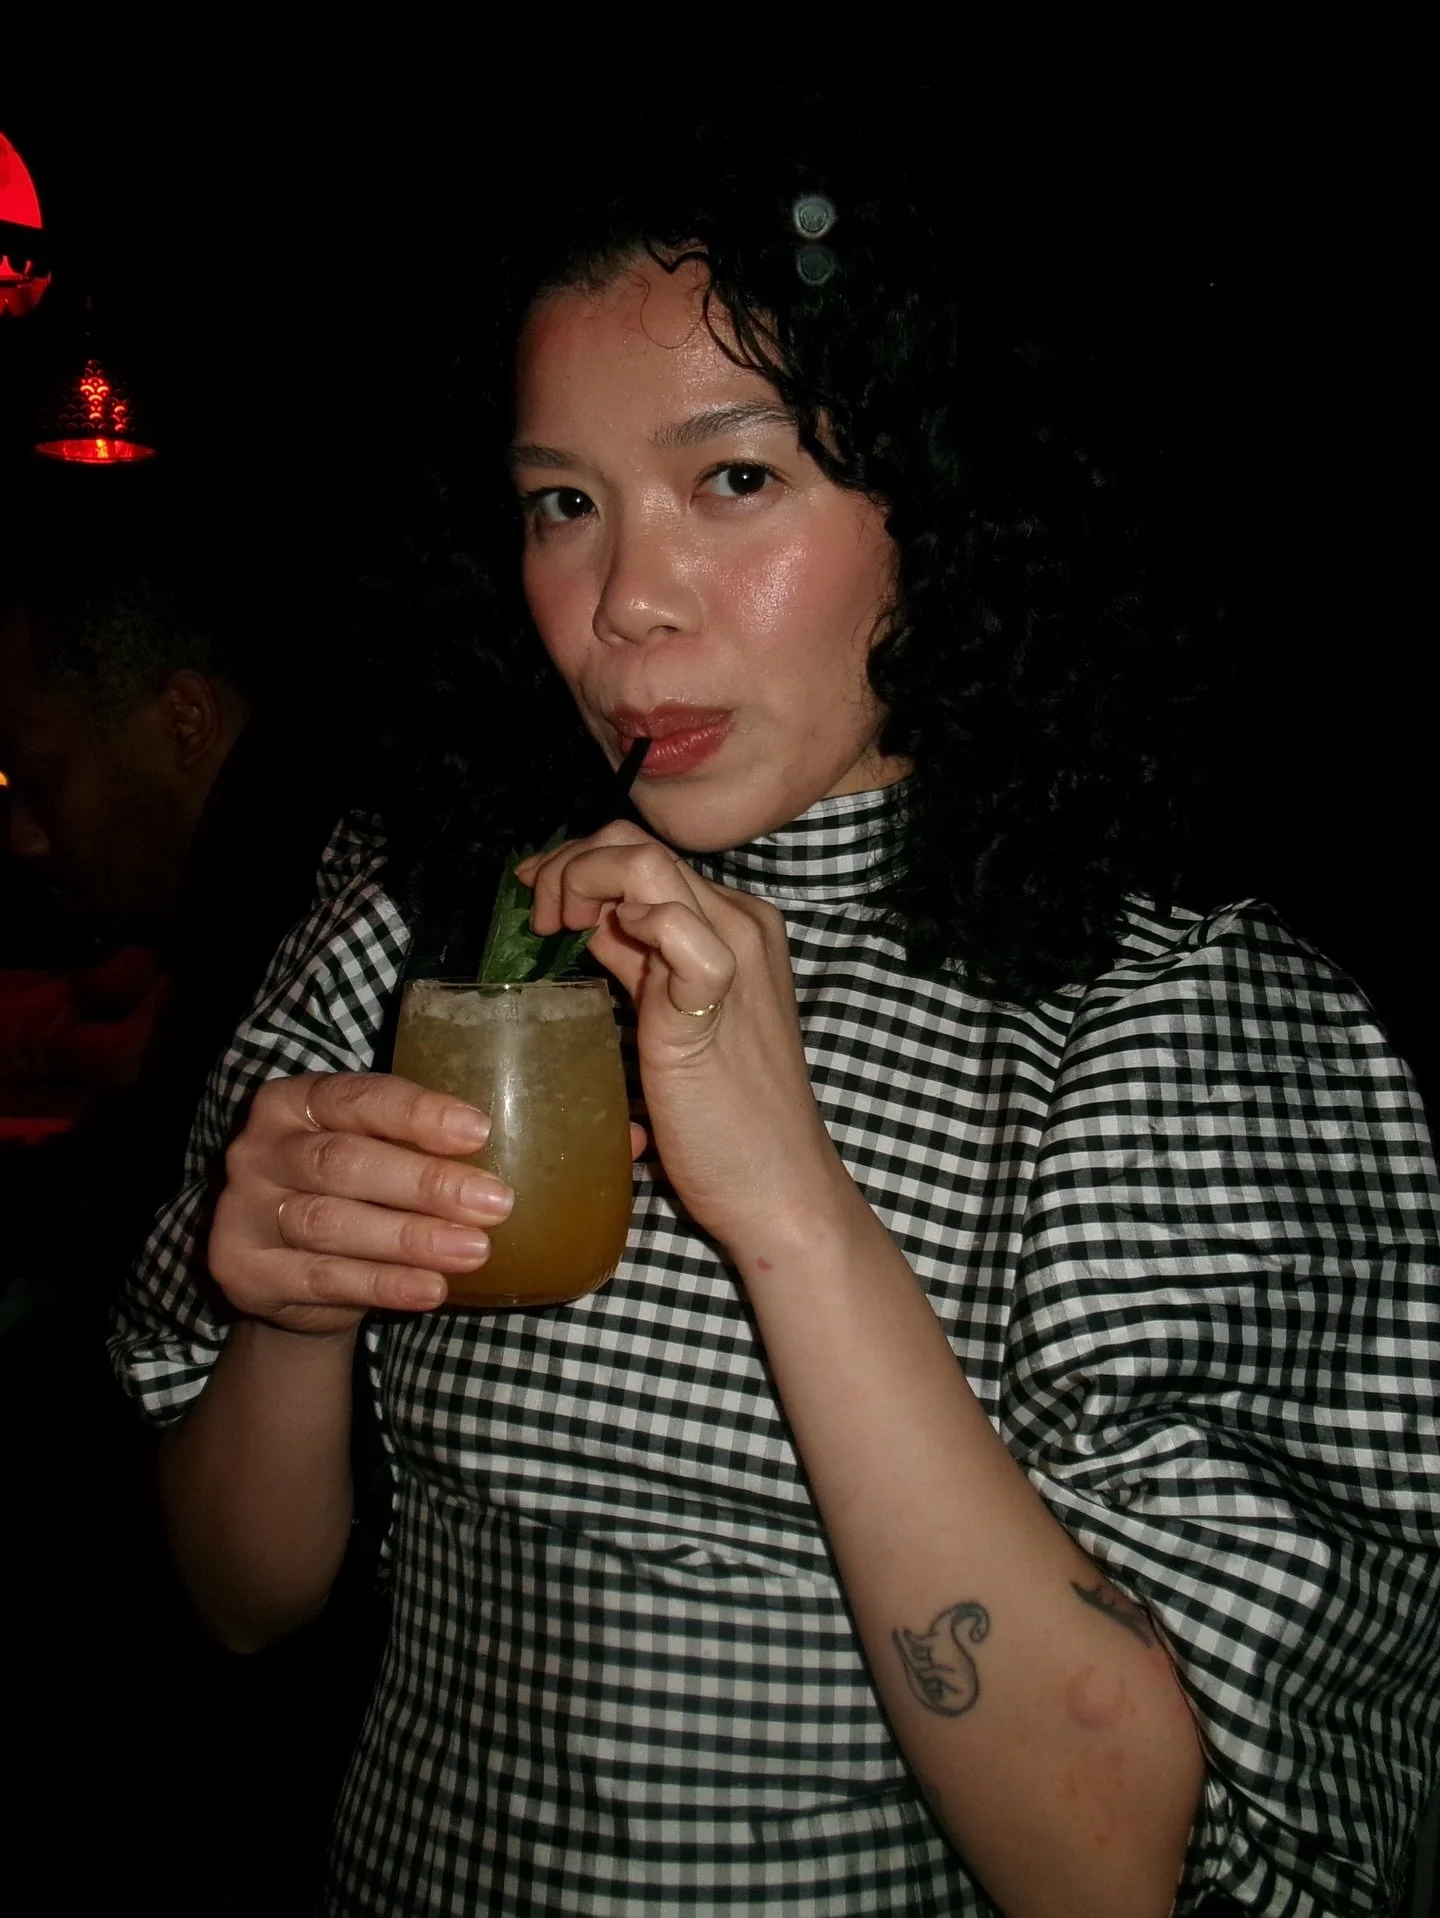
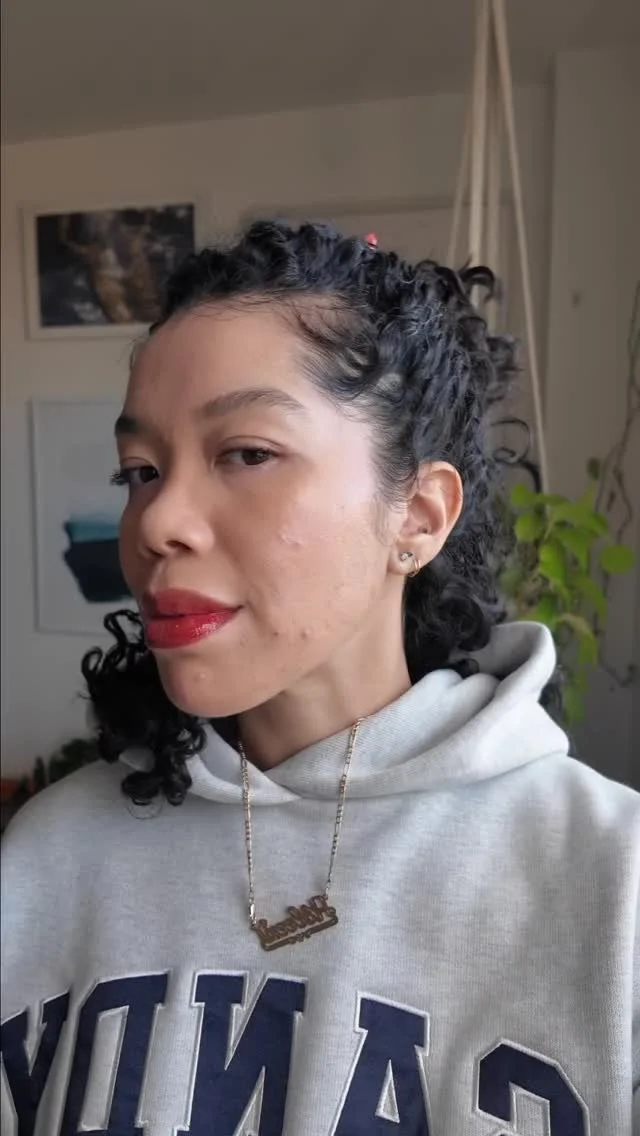
Hello Monday! Or should I say happy first funemployment Monday? This month has been such a whirlwind that I still haven't had time to digest my trip to Nashville (loved!!), my move (yes, another one), broken laptop (FML), and my new job (huzzah). In the meantime, I've been unpacking and enjoying my new hair!


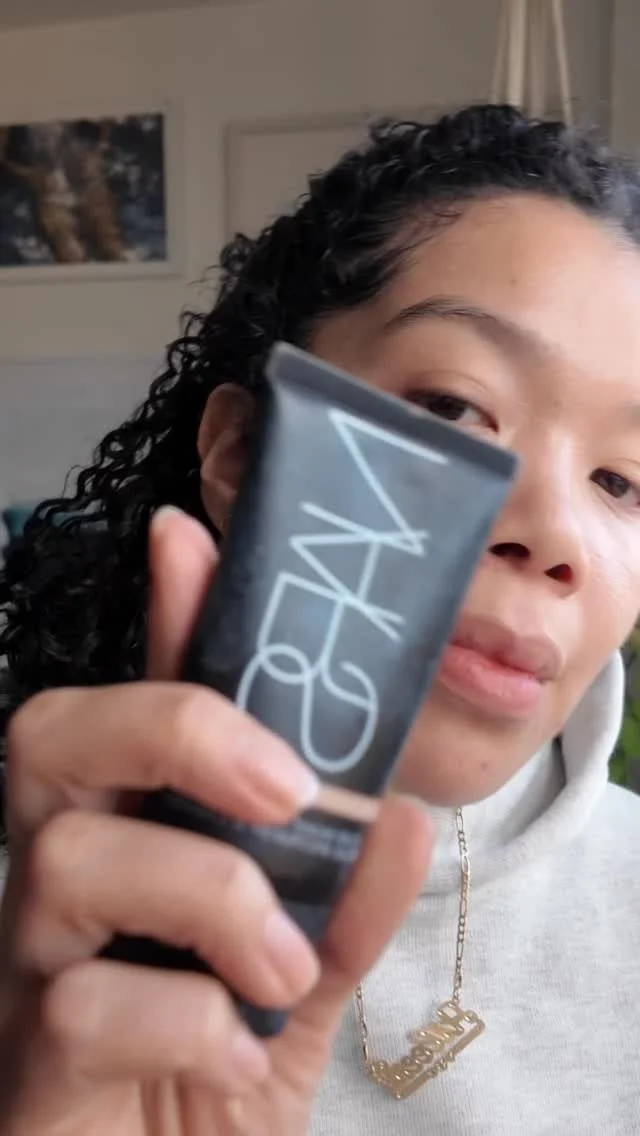
Although my hair is still on the dark side, I love how the line gave me sun-kissed highlights throughout. Did I mention I didn't have to pay salon prices to go lighter? With the amount of money I saved on this process I could actually take a trip to Tulum. Should I?

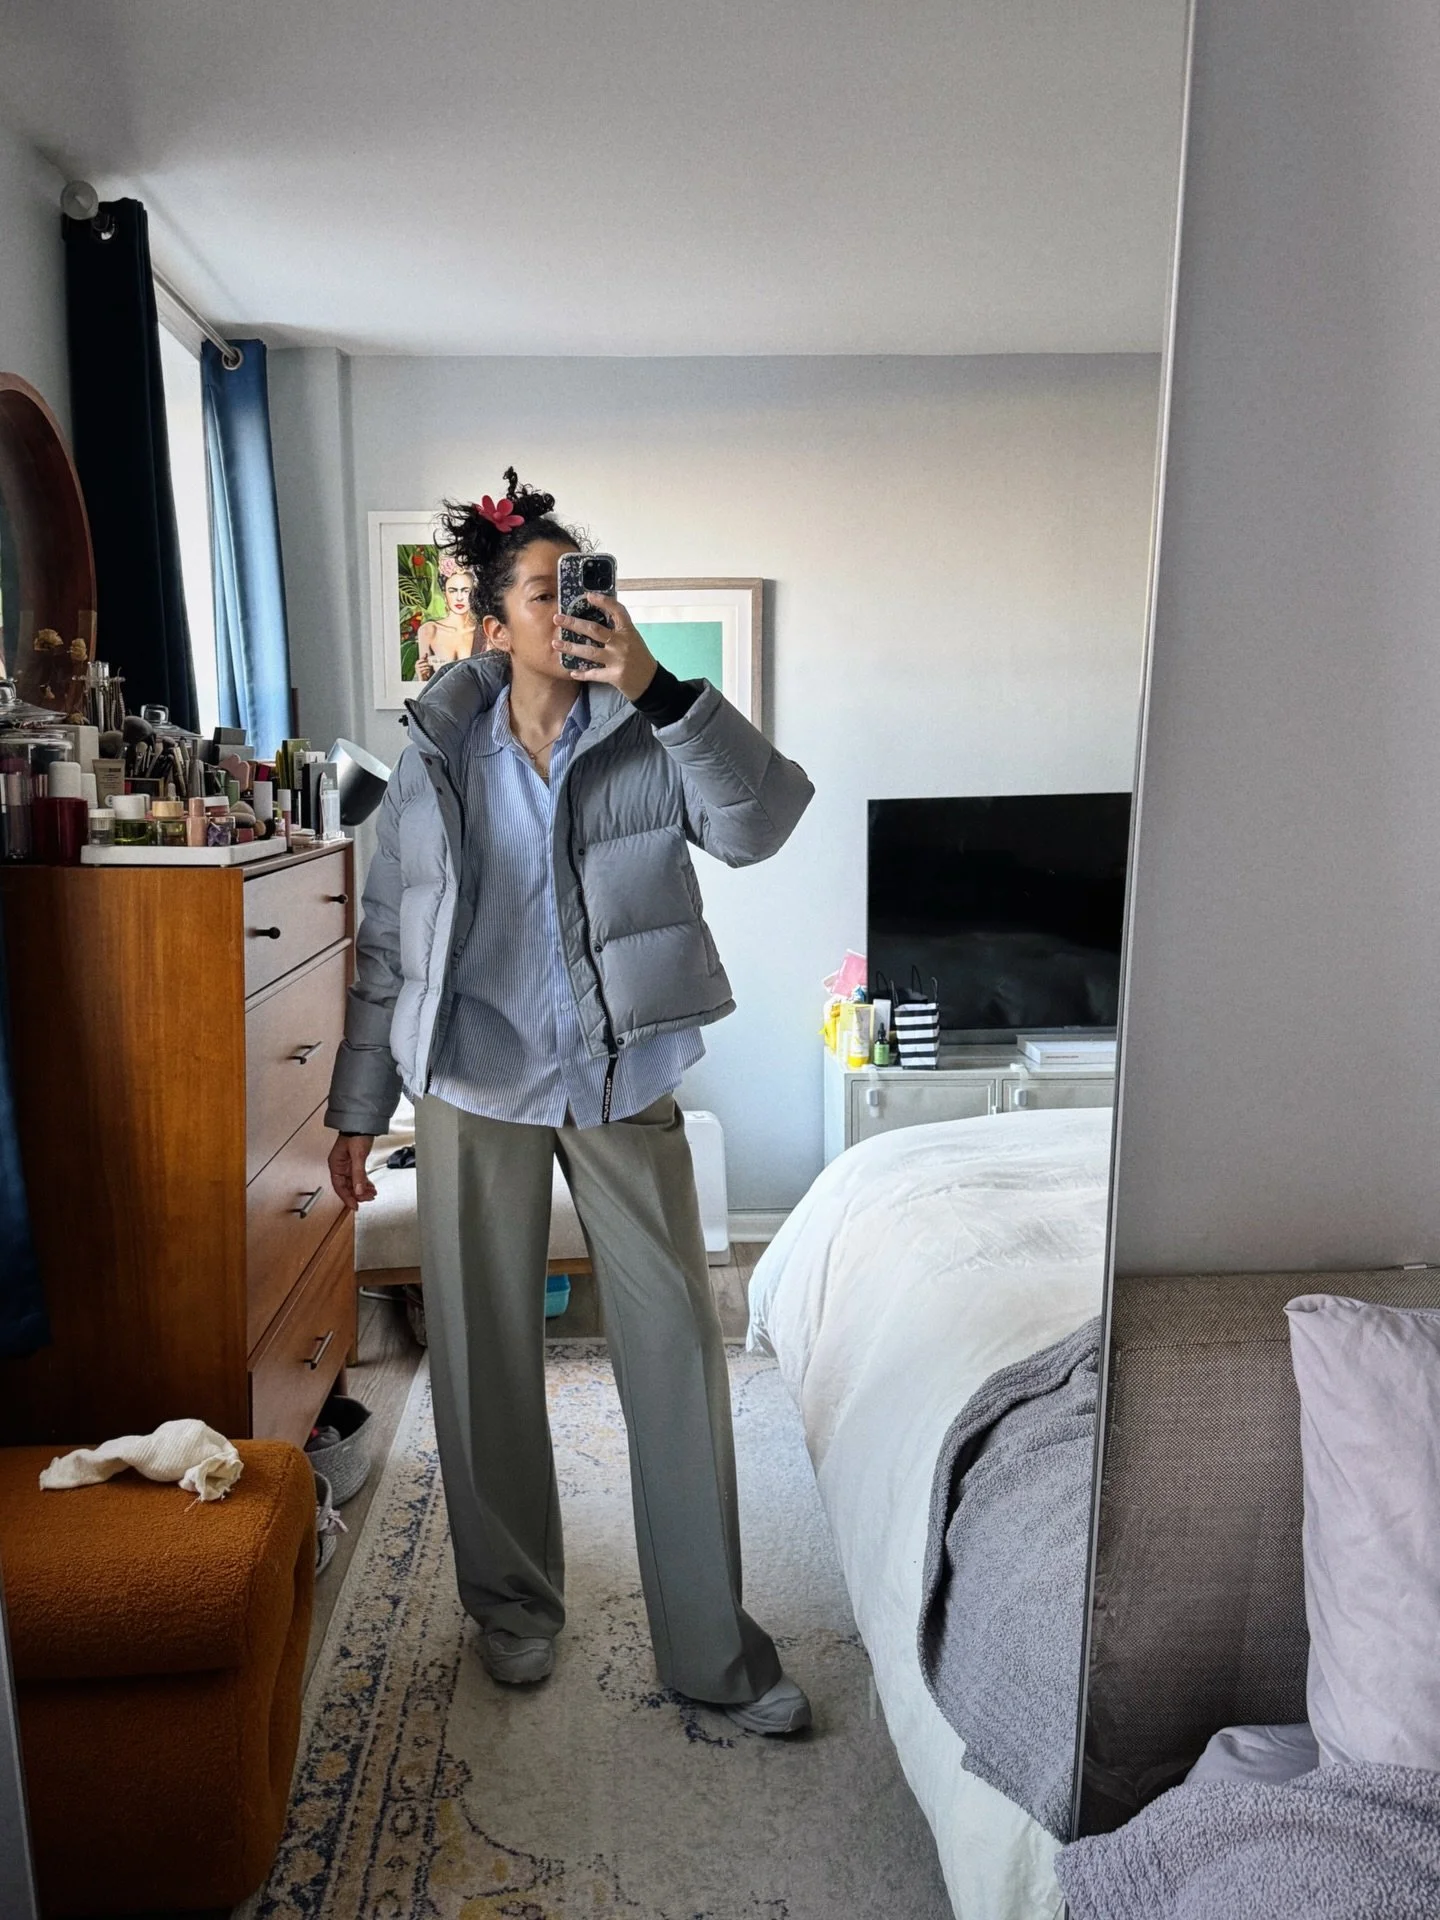
I'm thrilled with the results and wanted to share this easy braid tutorial since we are entering festival season. If any of you are coming back from Coachella or getting ready to go - have an amazing time! I've been three times and it's always been incredible. I'm taking a backseat from it this year and am instead heading to the local ones in New York City. But, there are so many this year you might as well bookmark this for later. It'll keep the hair out of your face and off your neck - perfect for dancing all day.
Alright before we begin you're going to need a brush, clear elastic bands, and bobby pins. Playing your favorite festival playlist in the background is optional.
FIRST
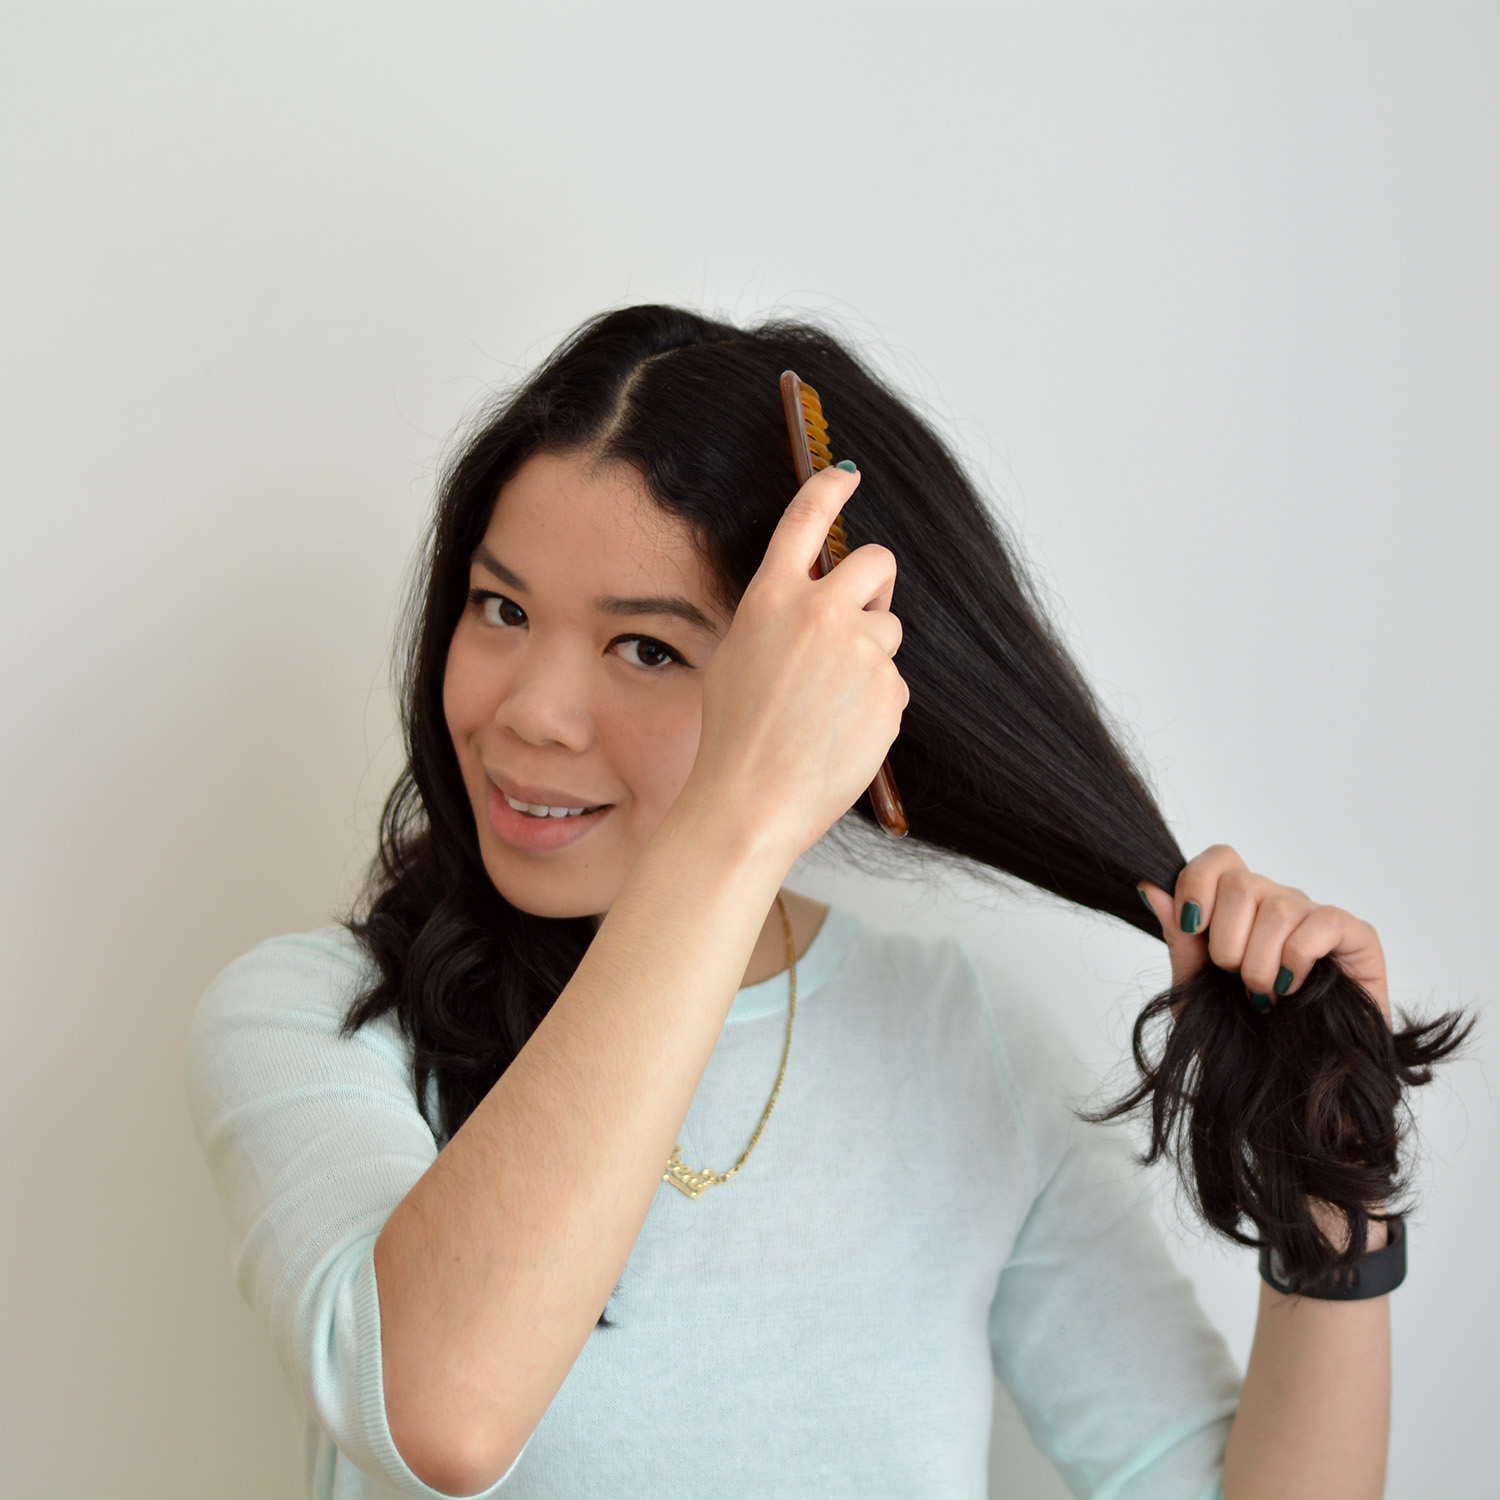
Part your hair down the center, from the front to back. You should be left with two section. Comb through each section to get rid of any knots which will make braiding easier.
SECOND
Give yourself two pigtails right above your ears and secure with the clear elastic band. In case you're worried, the clear elastic band won't show.

THIRD
Braid your pigtails. If you prefer your braids to fall on the chunkier side - loosely braid your hair. If you want smaller braids then aim to keep your braids tight. Make sense? Don't forget to secure your braids with another clear elastic band at the end.

FOURTH
Grab those bobby pins! Start with one braid and drape it over your head. Think of draping it in the same position a hairband would be placed at - not at the front of your scalp nor at the very back. Secure that first braid with bobby pins. To make them less visible make sure to tuck them under your braid or on the backside of your braid. Another trick is to use bobby pins as close as possible to your hair color. Repeat with the next braid.


FIFTH
Smile, you're all done!

I told you that was easy. It's my go-to hairstyle during festival season and a cute way to disguise two-day old hair as well.
P.s. Check out the original BEFORE post & photos here!