Today's shop has been sponsored by Collective Bias, Inc. and its advertiser. As always, all opinions are my own. Thank you for supporting the brands that make this blog possible!
#FalsiesPushUpDrama #CollectiveBias
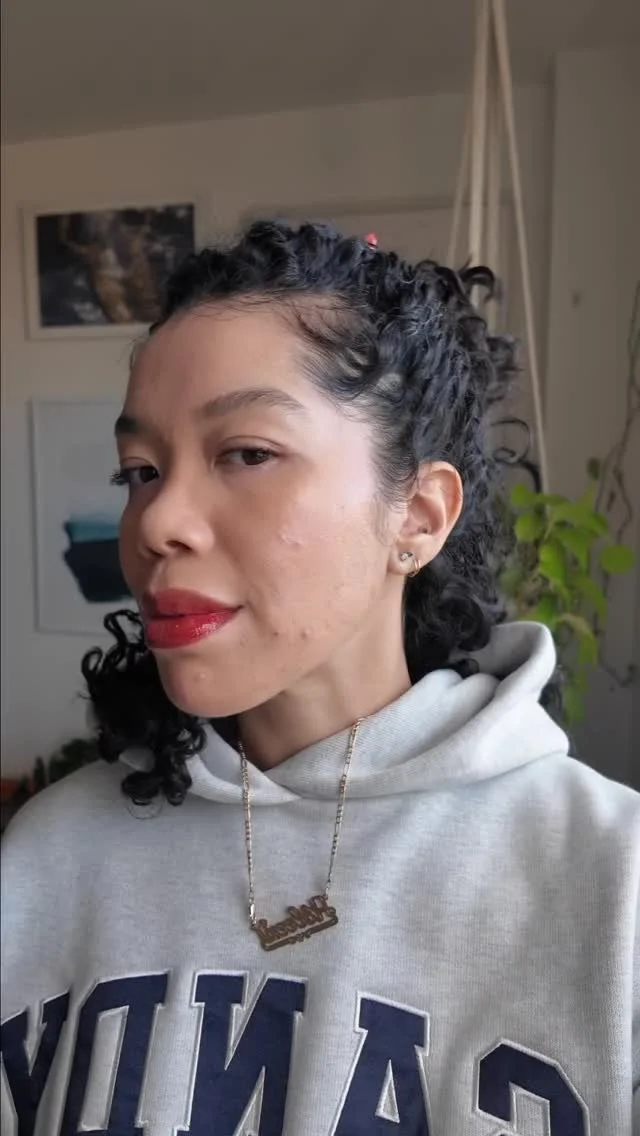
So yes, this is my signature fall look.

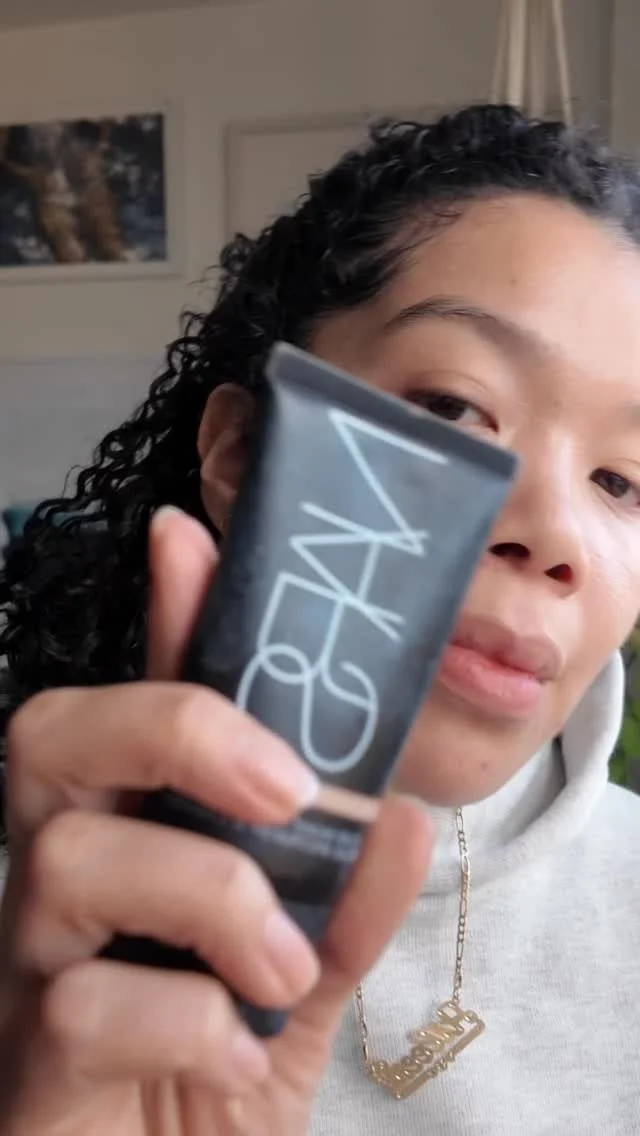
If you're looking for the New Maybelline Falsies Push Up Drama Mascara - look for this sign! But before you head there make sure you make a list of the products I used so you can also recreate my fall look (they should all be in that aisle too).

And here's the loot I came home with! Now you're not going to use everything here but just wanted to share, you know, beauty junkie to beauty junkie.

Alright, now let's get started! I've already completed my base including blush and highlighter but left everything in my eye's vicinity bare. That means no mascara, eyeshadow, or eyebrow pencil. Pretty scary right? I don't want to scare you guys any further so let's get started!
Step 1: FYI, all these shades can be found in Maybelline's Blush Palette. SO GOOD and SO AFFORDABLE. Shade your lid with the lightest color. This will give you a base to build off of. If you notice I went pretty light and made sure it was even throughout the lid. For this color I blend out and up towards my brow bone.

Step 2: Blend the next color into your crease (shown in photo below). I also blended a little bit of the dark brown shade at the end of my eyelash line.

Step 3: Take the shimmery gold color and sweep it over your entire lid but stay underneath the crease. From there I blend out and soften up the brown in the crease. Blending is your friend here.

Step 4: Line your lids. I used the Lasting Drama Gel Eyeliner in Blackest Black and gave a tiny swoop up at the end of my lash line.
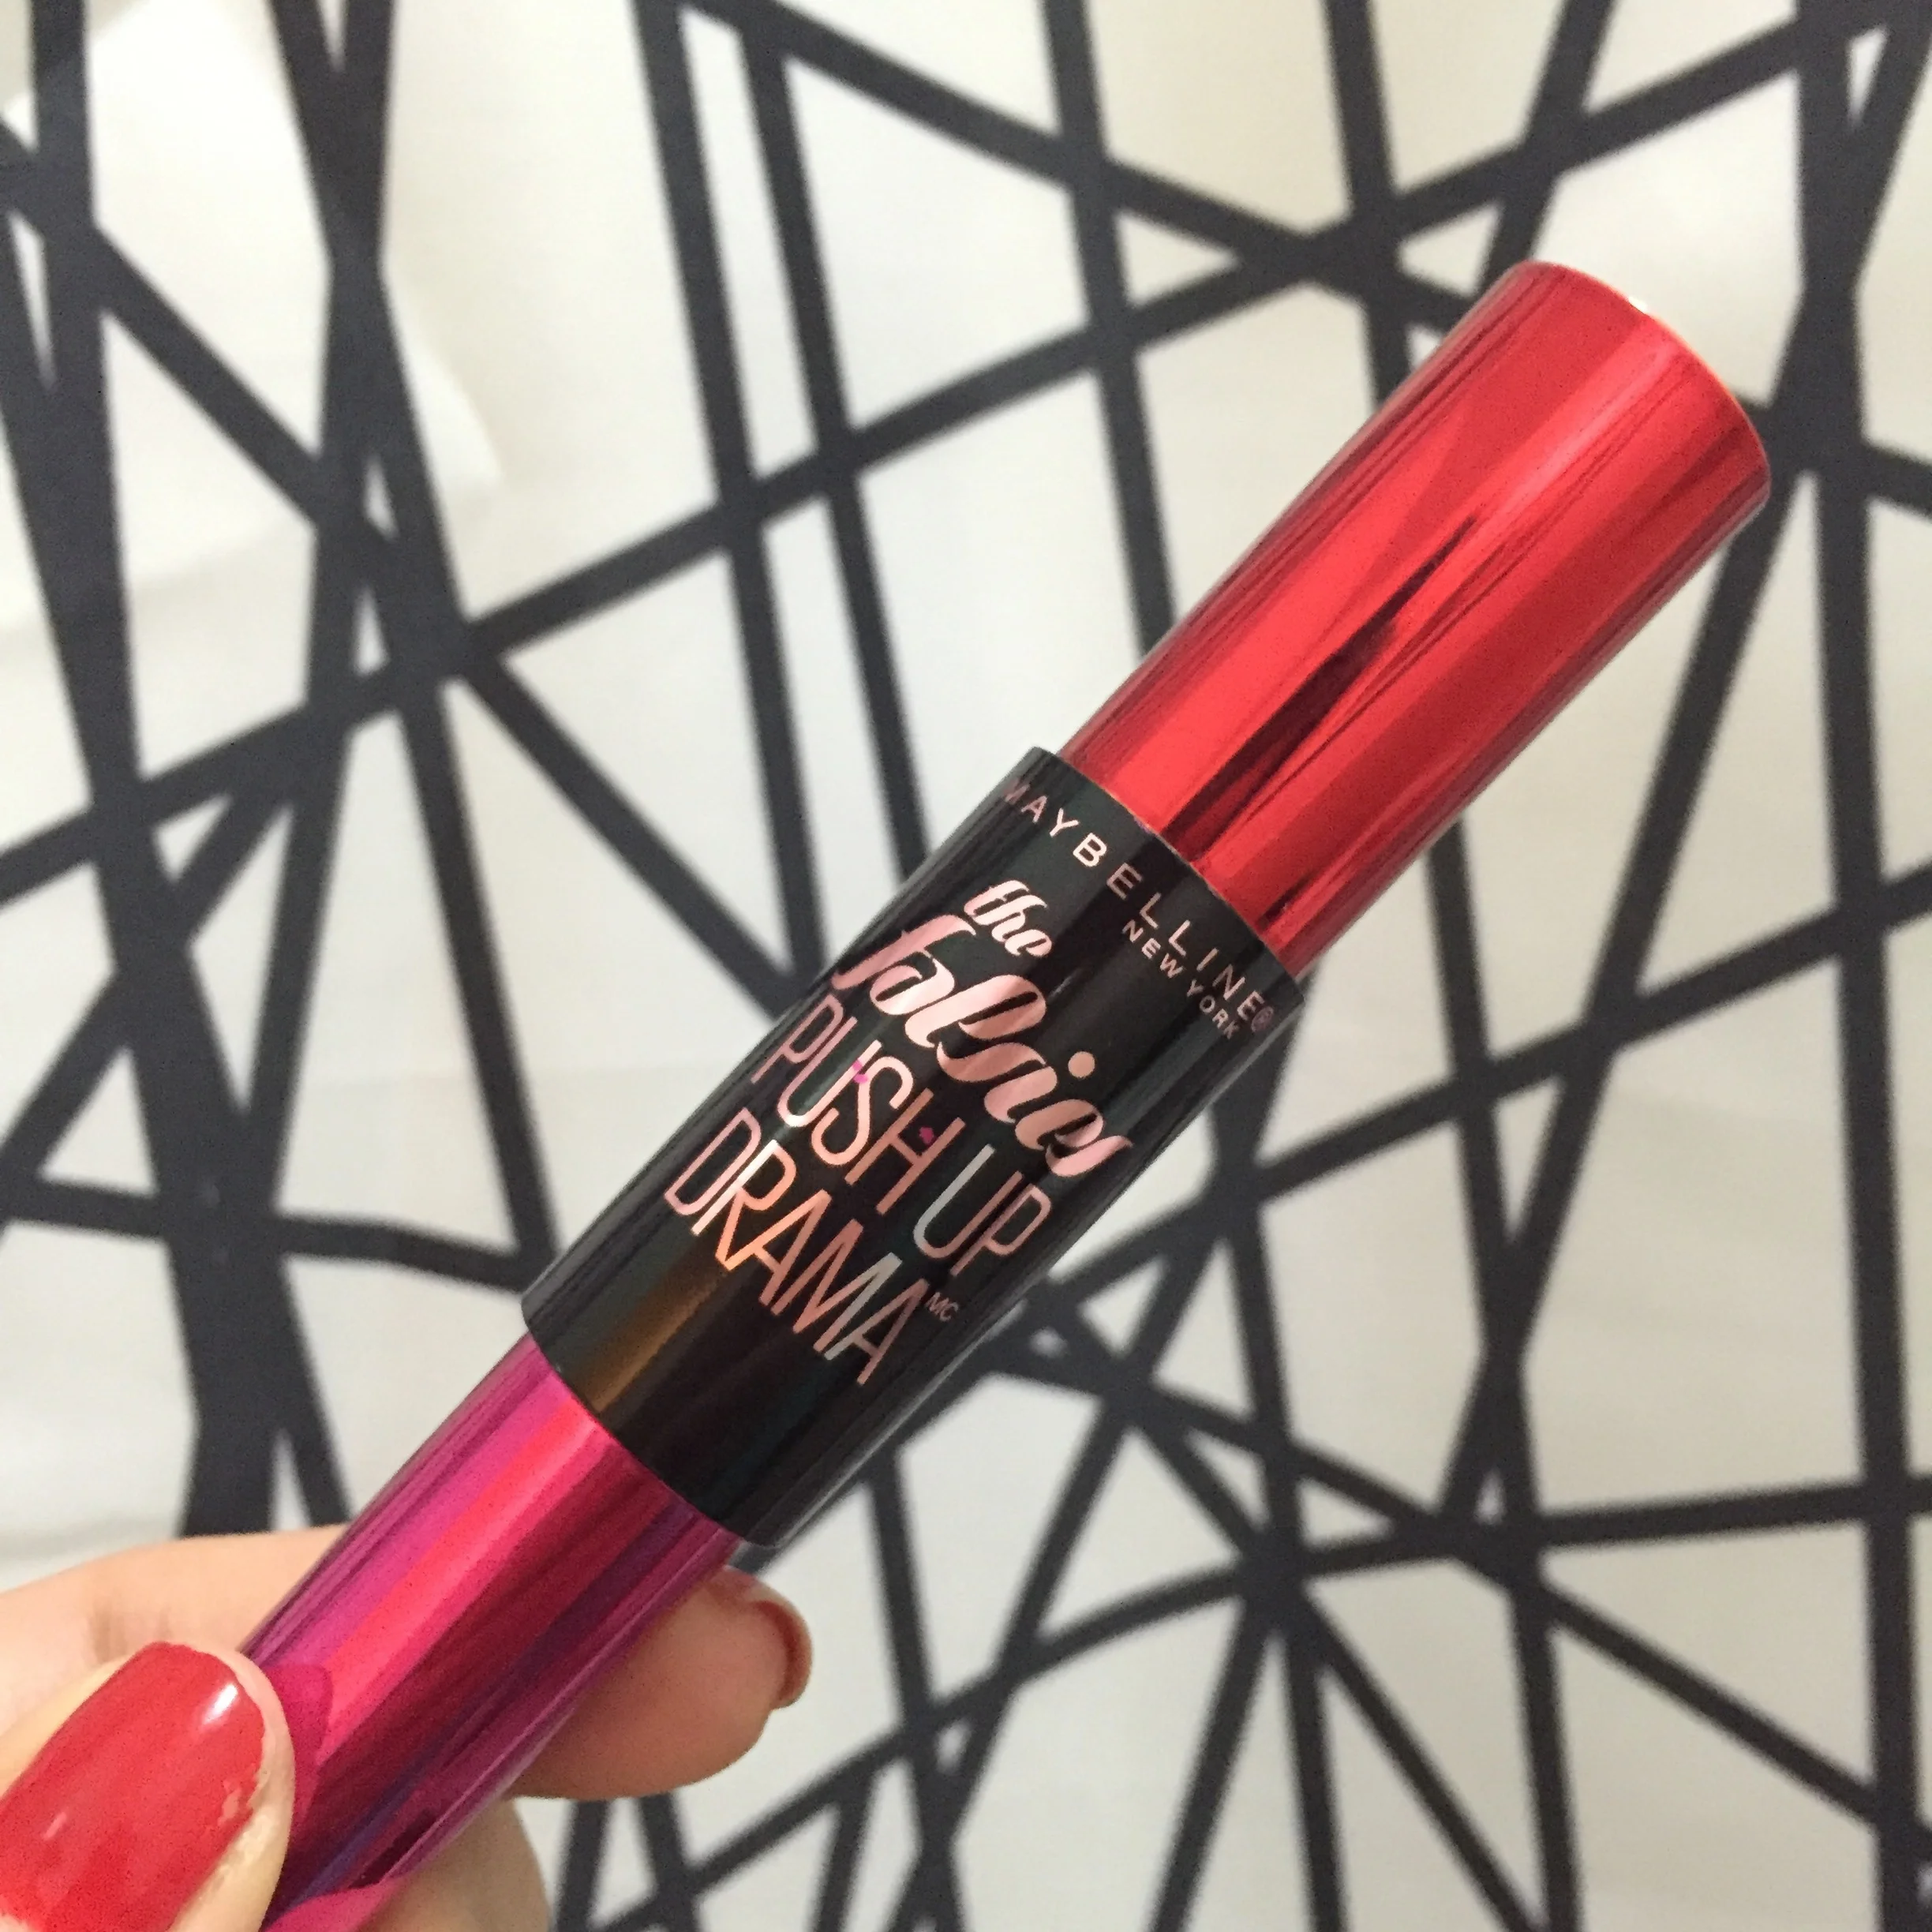
Step 6: Apply Maybelline Falsies Push Up Drama Mascara. This is the world's first ever push up brush with cup-shaped bristles that scoop, coat, and lift lashes. So with that said let every bristle glide smoothly onto your lashes dramatic lift of 45 degrees. Use two coats for more intensity.

Step 7: Once your lashes are charged up and volumized, apply a berry hue (I'm wearing Maybelline's Color Sensational in Blissful Berry), shake out your hair and head out to conquer the world.

You can't even tell that I took less than 10 minutes creating this look right?
When in a time crunch I can never leave without having my brows filled in or mascara. What about you?